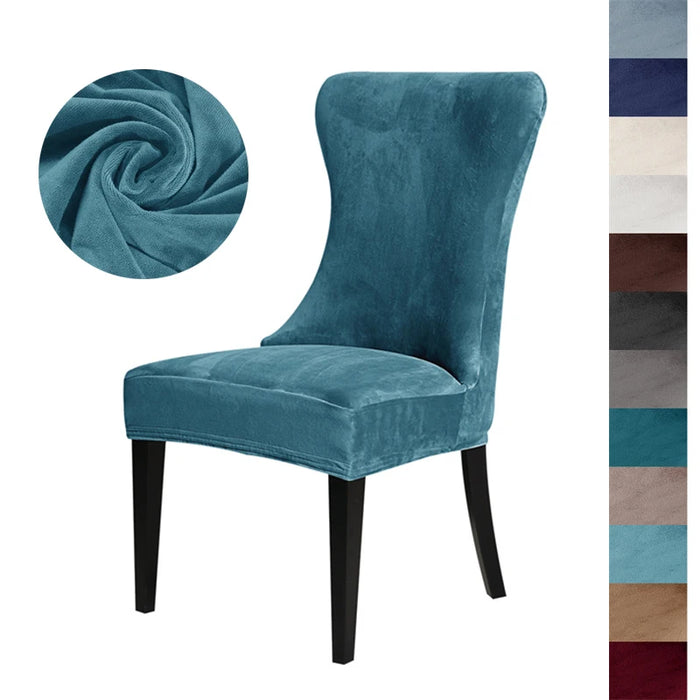
How to Make Dining Chair Covers: A Step-by-Step Guide
Dining chair covers are a fantastic way to protect your chairs from wear and tear while adding a touch of style to your dining room. Whether you want to create a new look for a special occasion or simply protect your furniture, making your own dining chair covers can be a rewarding DIY project. In this blog, we'll guide you through the process of making dining chair covers that will fit perfectly and look stunning.

Why Make Your Own Dining Chair Covers?
Creating your own dining chair covers allows you to customize the look of your dining room to match your personal style. You can choose the fabric, color, and design that best suits your decor. Additionally, DIY chair covers are often more affordable than purchasing ready-made ones, and they offer the satisfaction of a personal touch.
Materials You Will Need
To make dining chair covers, you will need the following materials:
- Fabric: Choose a durable fabric that suits your style. Consider options like cotton, polyester, or velvet for a luxurious feel.
- Measuring Tape: Accurate measurements are essential for a perfect fit.
- Scissors: Sharp fabric scissors will make cutting easier.
- Pins: To hold the fabric in place while sewing.
- Sewing Machine or Needle and Thread: Depending on your sewing preference.
- Elastic or Ties: To secure the cover to the chair.
Step-by-Step Guide to Making Dining Chair Covers
1. Measure Your Chairs
Start by measuring the dimensions of your dining chairs. You'll need to measure the height, width, and depth of the chair back, seat, and possibly the legs if you want full coverage. Accurate measurements are crucial for ensuring the chair covers fit snugly.
2. Choose and Prepare Your Fabric
Select a fabric that matches your dining room decor. Consider fabrics that are easy to clean and durable. Before cutting, wash and iron the fabric to prevent any shrinkage after the covers are made.
3. Cut the Fabric
Using your measurements, cut the fabric for each part of the chair. For a basic slipcover, you'll need separate pieces for the back, seat, and possibly the skirt. Make sure to add a seam allowance of about 1 inch (2.5 cm) on all sides.
4. Pin and Sew the Fabric
Pin the fabric pieces together, wrong sides facing out. Sew along the seams, leaving an opening at the bottom if you plan to add a skirt. If you're adding ties or elastic, sew them into the seams at the appropriate points to help secure the cover to the chair.
5. Fit the Cover onto the Chair
Turn the cover right side out and fit it onto the chair. Make any adjustments needed for a snug fit. If you're happy with the fit, sew up any remaining seams, and hem the edges for a clean finish.
6. Add Finishing Touches
Depending on your preference, you can add decorative elements like piping, buttons, or bows. These details can enhance the look of your dining chair covers and make them stand out.
Benefits of Custom Dining Chair Covers
- Personalization: Customize your covers to match your decor and style.
- Protection: Protect your chairs from stains, spills, and everyday wear.
- Affordability: Save money by making your own covers instead of buying pre-made ones.
- Satisfaction: Enjoy the fulfillment of completing a DIY project that enhances your home.
Explore Ready-Made Options
If you're looking for a quicker solution, explore our collection of chair covers at sofacoveruk.com. We offer a wide range of styles and fabrics to suit any dining room.
Conclusion
Making your own dining chair covers can be a fun and rewarding project that adds a personal touch to your home. Whether you prefer a simple design or something more elaborate, the possibilities are endless. For those who prefer ready-made options, visit sofacoveruk.com to find the perfect cover for your dining room chairs.